
DIY Sea Moss Face Mask: Application and Removal Tips
So, you've got your sea moss gel ready and you're excited to try a face mask? Great choice! Using a DIY face mask at home can be a wonderful self-care ritual. But here's the thing—knowing how to apply and remove it properly makes all the difference. Let's walk through the simple steps together, so you can enjoy your Sea Moss for Skin routine safely and easily.
1. Start with a Clean Canvas:
Before applying that mask, wash your face thoroughly. Use your regular cleanser and lukewarm water to remove makeup, dirt, and oil. Pat your skin dry with a clean towel. Think of it like preparing a wall before painting—you want a clean surface for the best results. If you skip this step, you're just trapping dirt under the mask, which defeats the whole purpose.
2. Prep Your Sea Moss Gel:
Take about 1 to 2 tablespoons of Sea Moss Gel from the fridge. You can use it plain, or mix it with other simple ingredients. Keep it simple, though—too many ingredients can overwhelm your skin.
● Keep It Simple: Mix sea moss with just one or two additional ingredients, such as honey or aloe vera.
● Check the Texture: Your mixture should be creamy and spreadable, neither too runny nor too thick.
● Test First: If you're using new ingredients, do a small patch test on your wrist first.
3. Apply the Mask Gently:
Now comes the fun part! Using clean fingers or a soft brush, apply the mask evenly across your face. Start from your forehead and work your way down to your chin. Avoid the delicate area around your eyes and lips. Don't go too thick—a thin, even layer works best. You're not frosting a cake here! The mask should feel comfortable, not heavy or dripping.
4. Timing is Everything:
Set a timer for 15-20 minutes. This gives the mask enough time to work without over-drying your skin. During this time, relax! Lie down, listen to music, or just breathe. Your skin is doing its thing, and you deserve this break. Don't leave it on longer, thinking it'll work better—that's not how it works.
5. Remove with Care:
When the timer goes off, head to the sink. Proper removal is just as important as application for your Sea Moss for Skin routine.
● Use Lukewarm Water: Avoid using hot water, as it can strip your skin of its natural moisture.
● Massage Gently: Use circular motions with your fingertips to loosen the mask.
● Be Patient: If bits are stubborn, use a soft, damp cloth instead of scrubbing.
● Rinse Thoroughly: Ensure all the mask is removed—leftover residue can clog pores.
6. Lock in the Goodness:
Gently pat your face dry after removing the mask. Follow up with your regular moisturizer or facial oil to complete your skincare routine. This completes your routine and lets you continue with your usual daily skincare steps.
7. Storage and Frequency Tips:
Store any leftover sea moss gel in an airtight container in the fridge. It'll stay fresh for about two to three weeks. Use your sea moss mask once or twice a week for a simple and enjoyable skincare step.
Closing Words
There you have it! Applying and removing a DIY Sea Moss face mask doesn't have to be complicated. Just remember: clean skin, gentle application, proper timing, and careful removal. Use it as part of your regular skincare routine to enjoy a simple DIY experience at home.
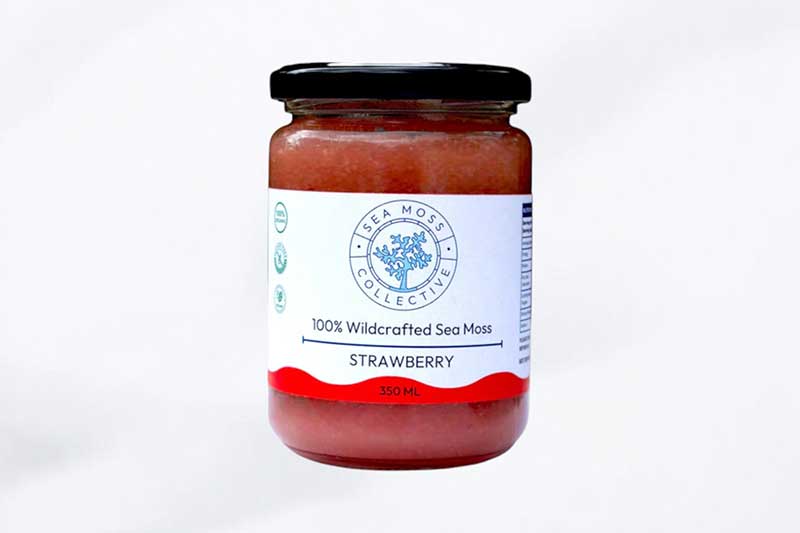
Ever wondered where to find high-quality Sea Moss for Skin Care NZ gel for your DIY masks? At Sea Moss Collective, we make it easy. Our gel is sustainably harvested, carefully prepared, and smooth for effortless use. Whether you’re experimenting with DIY masks or exploring new skincare ideas, you can choose our sea moss products. Check out our range of gels and other sea moss products on our website today.